Custom Report Creation
This guide covers how to create a report using the Build from Scratch (Custom Template) option in OCTO.
Features of Build from Scratch
- Add custom widgets from the platform's widget library
- Full customization of report layout and content
Steps to Create a Custom Report
Step 1: Access Report Creation
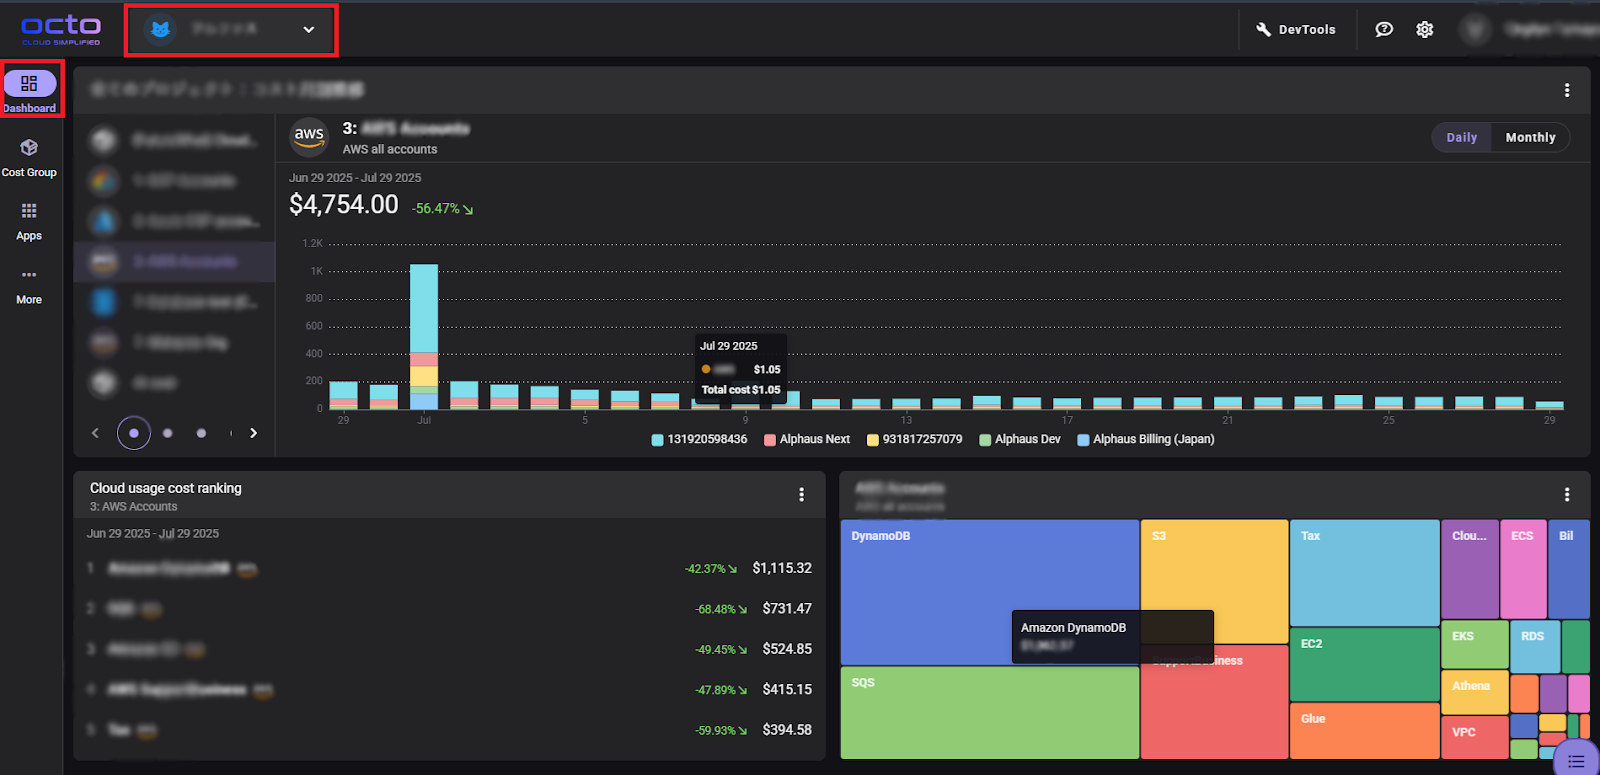
• Navigate to the Dashboard.
• Click the dropdown beside the report name.
- If there are existing reports, click the dropdown and then select "+ New Report" to begin creating a new report.
- If no reports exist, a "Default" report is displayed. Click the dropdown beside it, then choose "+ New Report" to start creating a new one.

Step 2: Choose Build from Scratch
Select Build from Scratch when prompted for the report type.

Report Details: - Report Name: Provide a descriptive name for easy identification - Description: Add detailed information about the report's purpose - Avatar/Color Theme: Customize visual appearance according to your preferences.
When selecting "Build from Scratch," you have additional configuration options:
Publication Options: - Publish The Report To Members: The report is published to all members - Allow Other Members To Edit: If the report is published, allow other members to edit the report

Step 3: Widget Customization Process
- Click the "+ Add to Dashboard" button to add a new widget

- Select a cost group for the widget data source

- Use the arrow button at the bottom right corner to drag and position the widget

- Click "Open Widget List" button to access additional widgets for displaying different data types
- Repeat the process to add multiple widgets as needed
Final Actions for Build from Scratch: Once you've completed the widget customization, you can: - Save Layout: Save your custom report configuration - Cancel: Discard changes and exit report creation

Post-Layout Customization (After Saving Layout):
After saving the layout, you can further customize your report through:
Cost Group Management: - Navigate to cost group settings to modify data sources
Widget Management Options: - Move Widget: Reposition widgets within the dashboard layout - Add New Widget: Insert additional widgets to expand data visualization - Delete Widget: Remove unwanted widgets from the report

Widget Settings: Access individual widget settings to customize:


- Title and Subtitle: Edit widget display names and descriptions
- Cost Group: Change the data source for the widget
- Granularity: Select data aggregation level (Daily or Monthly)
- Period: Set the number of days for data analysis
- Dimension: Choose data categorization (Vendor, Service, or Account)
- Data Count: Set threshold for grouping, excess data grouped as "Others"
- Chart Type: Select visualization format for the widget
- Past Comparisons: Enable option to show historical data comparisons
- Click "Update Widget" to apply changes